Renovation Essentials : Meet the Project Concept Board
If redecoration, renovation or re-build feature in your list of New Year’s resolutions, calm your nerves and listen up! Whether or not you consider yourself a creative, pinning down your unique design aspirations – way before the first shovel hits the soil or the decorator dons his overalls – is a renovation essentials must. Here’s how to meet the challenge head on…
So your 2020 involves tackling a property renovation project. Perhaps you plan to decorate in stages with bite-size, room-by-room refreshes. Either way, the first and single most important step to achieving your goals and creating your dream home, is to assemble a project concept board.
Different from a room scheme board – interior designers create these to showcase final fabric and furniture choices alongside sketches of any proposed room design – a project concept board represents a more holistic approach. Essentially, it’s an overarching vision board or ‘house style sheet’ for the property in it’s setting. It draws together both the interior and exterior design. The project concept board is something you should create yourself, irrespective of whether you plan to bring design professionals on board.
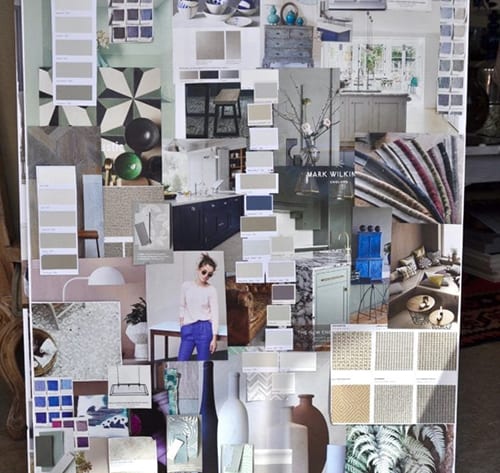
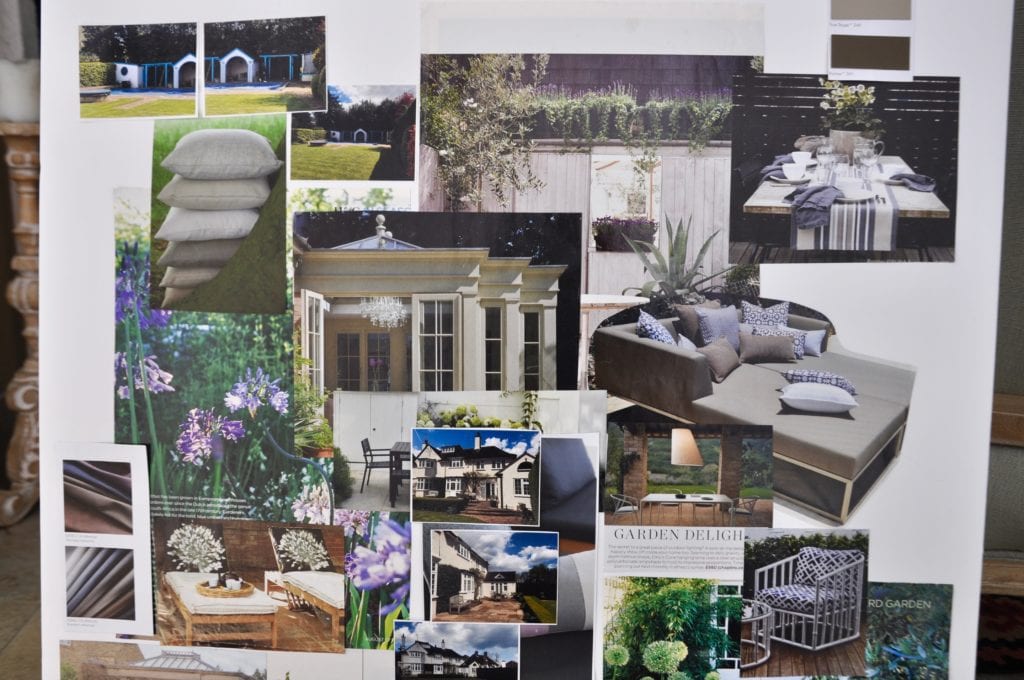
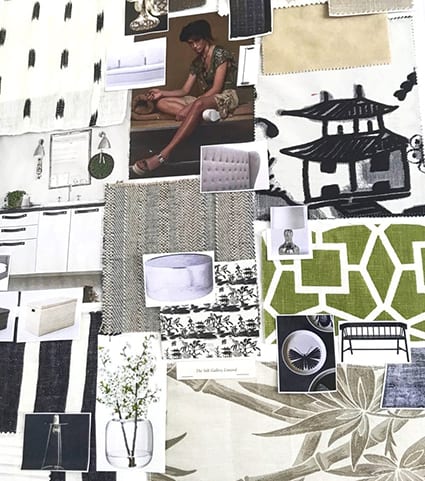
An overarching Project Concept Board (interiors – see below for exteriors). Note the inclusion of paint chips, nature imagery and fashion mag pictures to convey colour, texture and mood. A final room scheme board – comprising fabric choices, floor plans, product edit and sketches – is a different entity and should be assembled at a later stage in the project.
Renovation Essentials: Clarify your goal!
A Project Concept Board ensures you are clear in your own mind about your goals. It also acts as a visual reference for communicating your ideas to others. Your partner, your kids, your architect, your builder, your interior designer, your kitchen fitter…the list goes on. In fact, any number of specialist tradespeople you interact with during your project. After all, it’s your cash, your investment and, ultimately, your home to live in. So, you might as well ensure your hopes and aspirations are heard and realized (to the best your budget, build scope and timescale will allow).
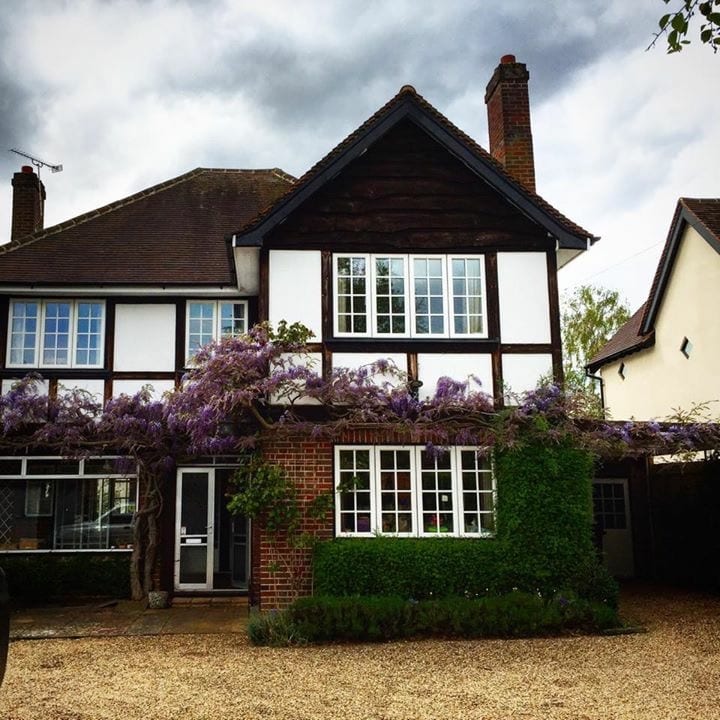
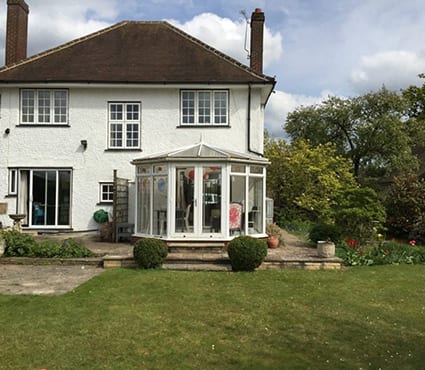
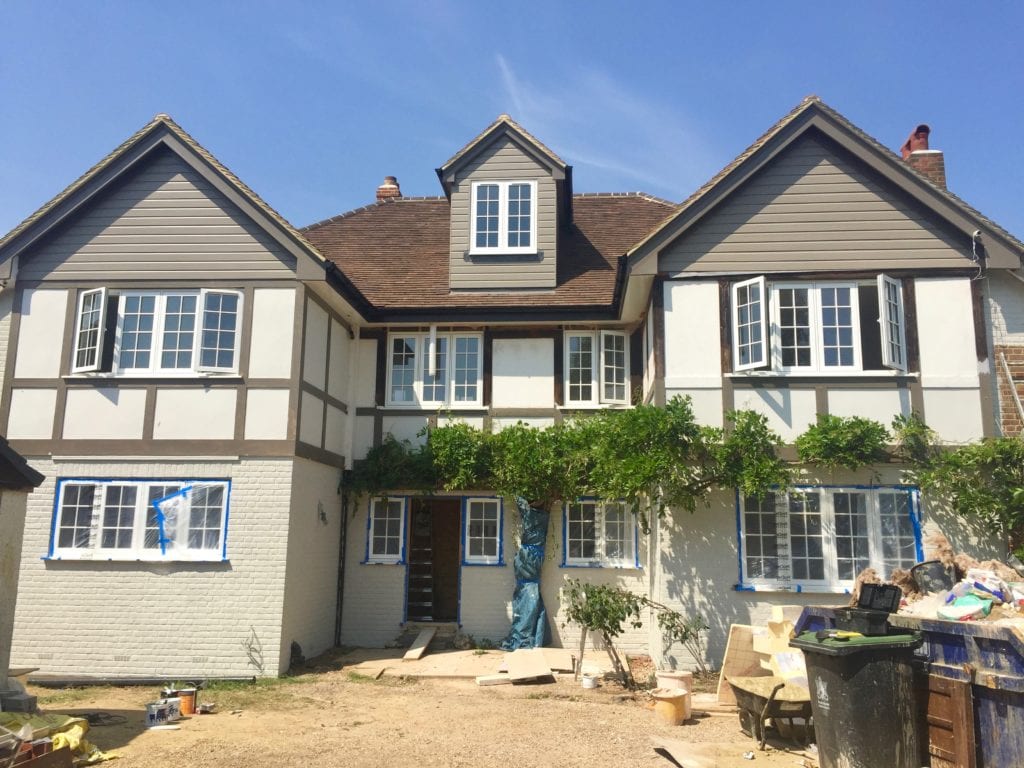
1930s renovation project including side and loft extensions and exterior redecoration. The original property, pre-renovation, front and rear.
So what is it and how do I do it?
So what should you include on your project concept board and how do you create one?
Imagery
The imagery you gather for your board should be generic. Aim to assemble a variety of interior and exterior images that broadly convey the look, mood and feel of the home you desire as opposed to specifics. Specific product images, fabric swatches and also nature or fashion snaps – can though, be a brilliant way of conveying a particular style, colour combination, texture or atmosphere. Be relaxed about what works on your concept board. Include colours, patterns, materials, lighting effects, design details and ideas. Architecture and outdoor inspiration are also important. Be sure your board includes bathroom, kitchen, sitting room and bedroom imagery, as well as property exteriors, gardens and landscaping ideas. Consider the style and location of your existing property. Even if you’re contemplating a new build project. Budget permitting, you can transform a building’s exterior to improve it’s kerb appeal. So don’t feel constrained. Spend time sourcing pictures of completed exteriors you admire from similar property types.
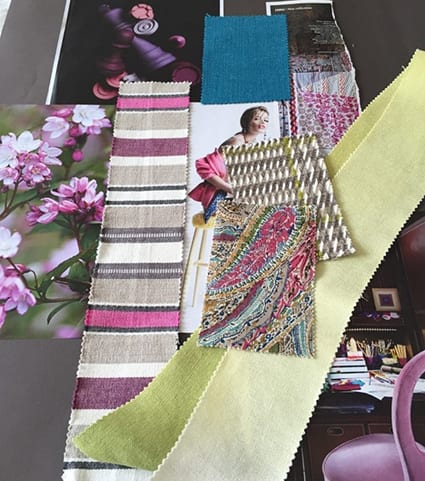
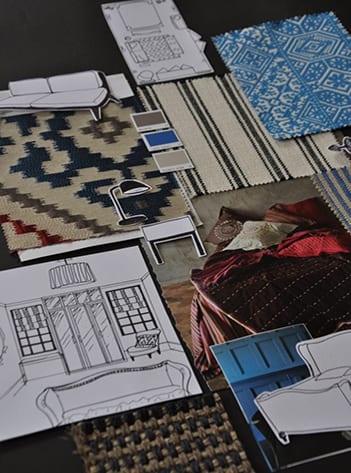
A Project Concept board illustrating garden/terrace inspiration for a property – namely, planting colours and furniture styles. Sections of other, contrasting Project Concept Boards, showing zen-like, Asian-inspired style and pretty colour combinations.
Research, refine, edit…and get crafty?
If you’re old school when it comes to creative projects (like me!) tear pages from favourite interiors magazines, brochures or supplements. Drown the dining room table with design imagery, editing and refining as you go. This fun process – which can be done over a number of weeks – allows you to explore, challenge and hone your own design preferences. Ultimately, aim for a final edit of imagery across no more than two A1 boards.
Or go online…
Alternatively, create a board online. Browse online stores, seek interiors inspiration via search engines, scroll through Instagram or your photos folder (if, like me, you snap – paparazzi-style – anything design-related). Of course you can also create a board via Pinterest, Houzz or other, similar design platforms. You’ll be surprised at how quickly your ‘likes’ become evident and your personal style reveals itself (‘dislikes’ can be equally as useful and informative). At this point, you have begun to locate your interiors ‘true north’!
Renovation Essentials: The ‘Universal Colour Palette’
A key element to include on your project concept board is a universal project palette. This is a handful of toning shades – often neutral – that will be used for ceilings, woodwork and some walls too. The idea is to promote flow and provide a visual link between the various rooms and spaces within a property.
Ensure visual flow…
The colours you choose for your skirting, architraves (door frames), doors and coving or cornice effectively ‘frame’ each space and provide the starting point for the individual room schemes. This affords a degree of calm and provides a touchstone from which to extrapolate different but complimentary colour schemes. An over-arching project palette encourages you to select paint or wallpaper colours that ‘tone’ or sit harmoniously together, whether your personal preference is for pale shades or bold brights. Piecemeal, ‘bitty’, room-by-room decorating, without any continuous element, can feel jarring. It can also make a house feel smaller.
Take the universal project palette one step further by choosing unifying décor for communal thoroughfares: walkways, stairs, lobbies or landings. Stay neutral or introduce bright colour – perhaps more acceptable in spaces you are passing through – to enliven an internal hallway or corridor. Choose calmer, toning or complimentary shades for rooms leading off it.
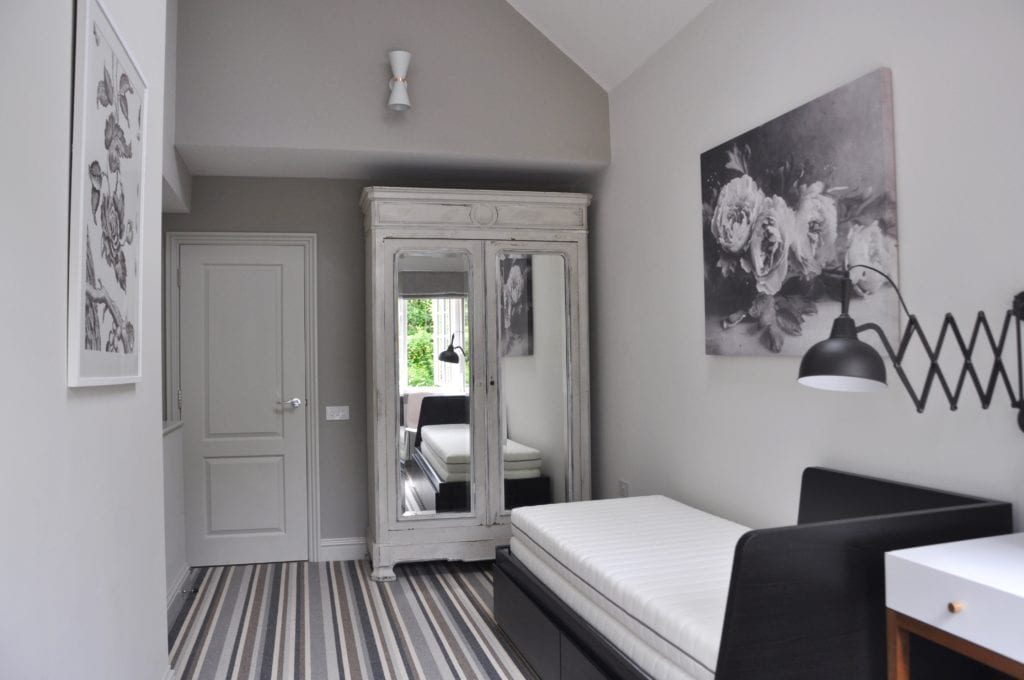

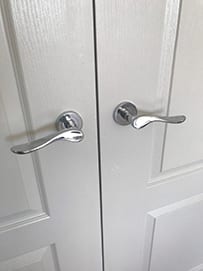
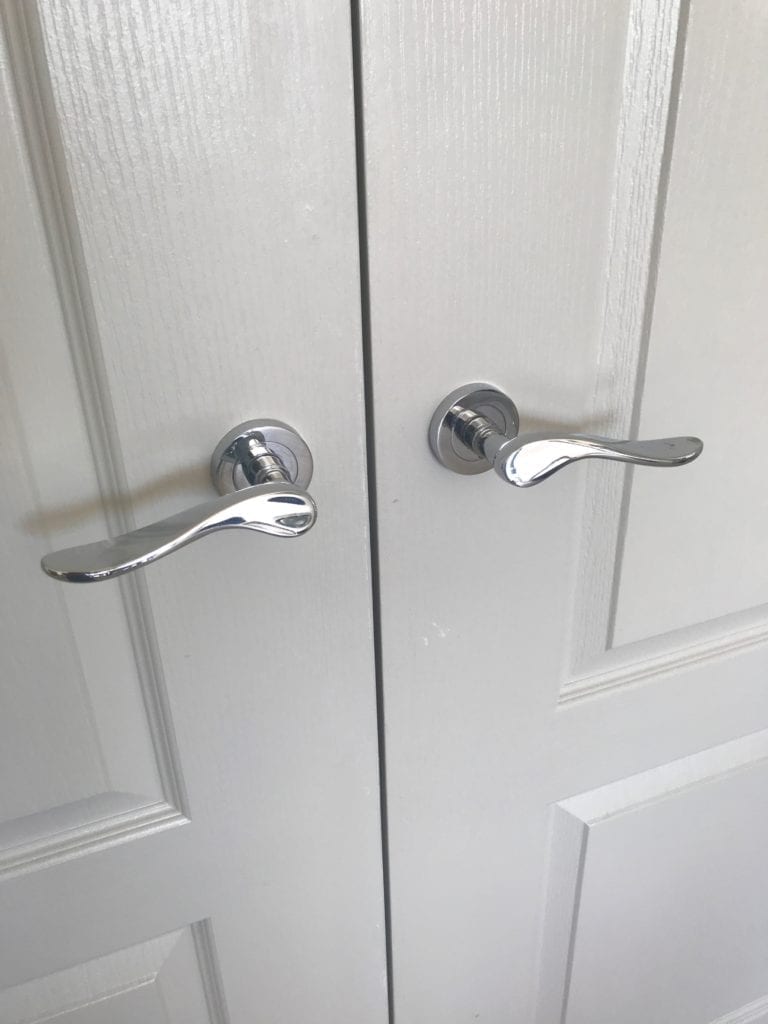
A Universal Colour Palette is evidenced here by the woodwork paint on doors, architraves, skirting and ceilings. Other rooms in the same house display schemes in a variety of colours and yet the warm greys of the woodwork across the whole house provides continuity and consistency, framing each space. A selection of elegant Farrow & Ball shades that might serve as the basis for a Universal Colour palette. Painted door detail in Slaked Lime Deep by Little Greene – think beyond a palette of whites for woodwork!
Think ‘outside in’!
Take cues from the architectural style of the property to ensure continuity between inside and out. Always think beyond a palette of whites too.
1930s case study…
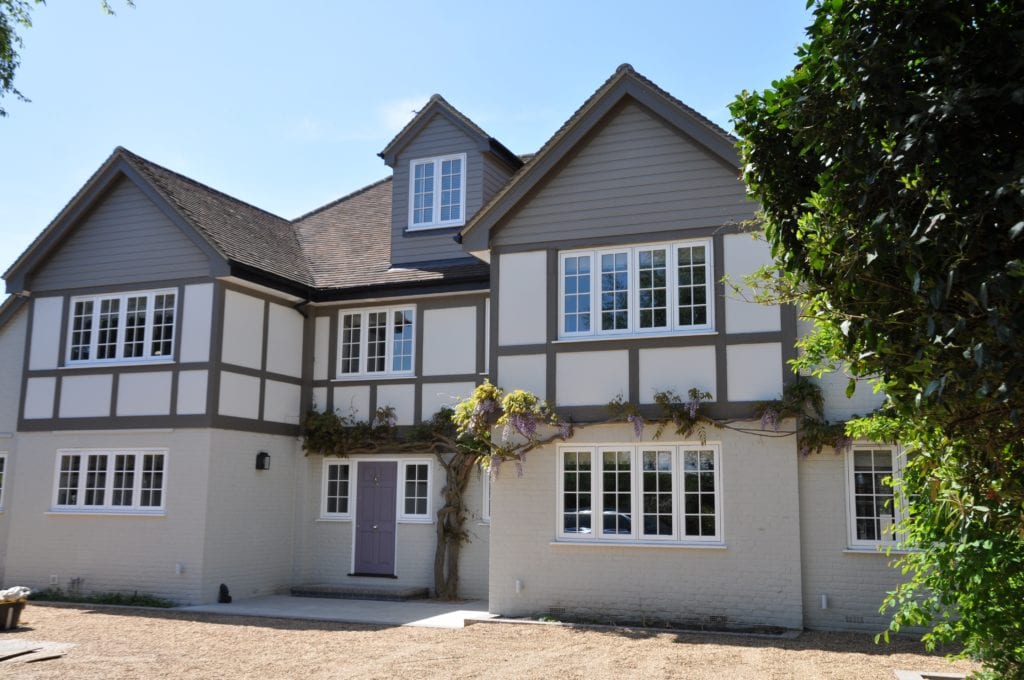
The exterior I envisaged for our 1930s renovation – shown here before and after, involved painting existing and new mock Tudor beams and gables, new flat render and brickwork. The palette of cool off-whites I selected for the render and brickwork from – ‘Slaked Lime Mid and ‘Slaked Lime Deep’ both from Little Greene – was continued indoors via the woodwork and ceilings. Darker taupe shades from the same company also featured. ‘Furrow’ for the gable apexes or ‘barge boards’ and ‘Silt’ on the horizontal gable slats. These colours were carried through to other landscaping elements. Painted electric gates at the front of the property and a barbecue area at the rear for example.
Blooming battles!
This palette of taupes and off-whites was inspired by and designed to compliment the mauve and lilac blooms of an ageing wisteria that hung across the existing frontage. To say I had a battle on my hands convincing builders, carpenters and decorators that this crowning glory could not – under any circumstances – be lost (we re-built the entire front aspect) is an understatement of epic proportion. Think scaffolding hung boughs, specially constructed ground steels, endless pleading, cajoling and self-ridicule. Add to that enough sugary tea and biscuits to cheer an army. We got there in the end and twice a year in May and August I can’t help but smile at the sheer prettiness we inherited, each time I arrive home.


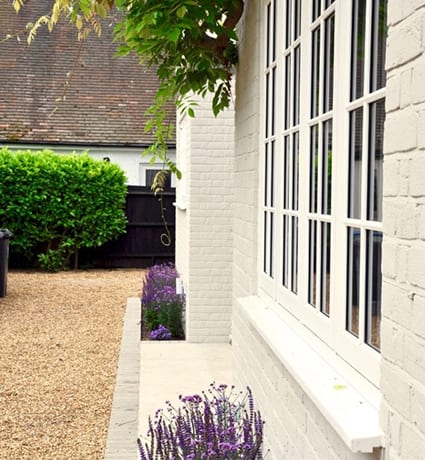
The wisteria clad frontage with front door painted in Brassica by Farrow & Ball. Silt on the beams, Slaked Lime Mid on the upper render and Slaked LIme Deep on the brickwork, all from Little Greene.
Renovation Essentials: Next steps…
Communicate!
The ultimate aim of your project concept board – complete with universal colour palette – is to capture your vision and arm you with the visuals to articulate your ideas to others. Stick firm dislikes on the back of the board, if it helps avoid assumptions on the part of others and problems down the line. Once you are happy with your board, start to create individual room schemes inspired by it. Bathrooms are often the most pressing as plumbing decisions and kit (think loos, sinks, baths and showers and taps) have to be made/selected relatively early on at first fix stage. Alternatively, enlist the help of a professional interior designer.
Conclusion – Collaborate? Or go it alone?
Having visualized your goal, you may have developed the confidence and inspiration to go it alone. Conversely, creating the board may have highlighted areas you need help and support. Either way, pulling together a project concept board with honest thought and consideration is an essential discipline when undertaking any redecoration or renovation project. It is a useful clarification exercise both for yourself and others, allowing you to edit, distill and unite often disparate looks and ideas. Most importantly, it serves as a reference point or touchstone for the project as a whole, keeping you on track creatively and ensuring a coherent and considered end result. The next feature in our ‘TS Decorates, Renovation Essentials’ series will address the practical considerations when planning a room scheme (before you start pulling out the paint charts!). Sign up below to have this delivered direct to your in-box. In the meantime, a Happy New Year to all (& happy planning!)
A note about the author…
Designs By Origin’s focus is and will always be travel infused interiors and ‘destination-inspired design’. However, generic blog features relating to interior design and decoration are relevant to all. My creative head, background as an interiors magazine journalist (read more here), own experiences both property developing, interior styling and designing for clients compels me to shout about what works and what doesn’t. The pitfalls to avoid and the absolute must-dos. It’s not comprehensive or exhaustive. However, I hope to assist, just a little, with your decorating dilemmas going forwards…
Annabel Smith, Designs By Origin
FOLLOW US/GET IN TOUCH